Looking for one product that trims your routine and still gives salon-look nails? If you do your own nails between a hectic schedule, a multifunctional glue gel can simplify every step from extensions to tiny rhinestones. Read on to decide if this kind of gel fits your style and how to combine finishes and techniques for fast, lasting results.
Save time by using one product across finishes
A 6-in-1 glue gel is designed to serve many roles: adheres tips, acts as a base for Gel-X, builds structure, secures small gems, and strengthens the natural nail. For a busy routine, that versatility means fewer bottles on your shelf and fewer steps when you’re doing a quick set. Think of it as a clear, glossy workhorse you can reach for whether you’re creating a full-coverage pastel, a clear tip extension, or a rhinestone accent.
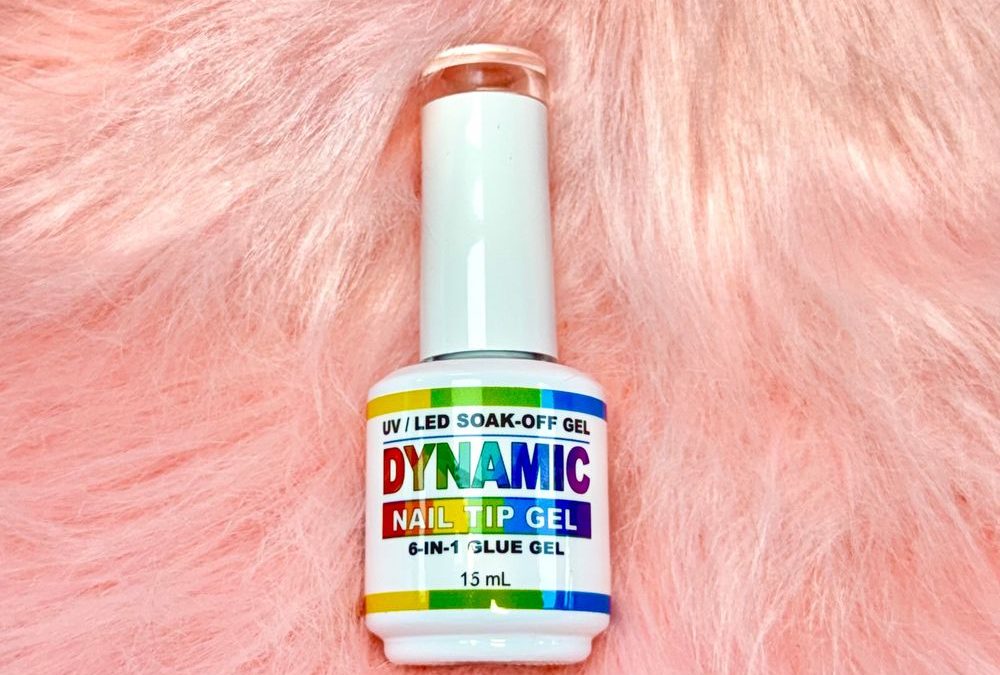
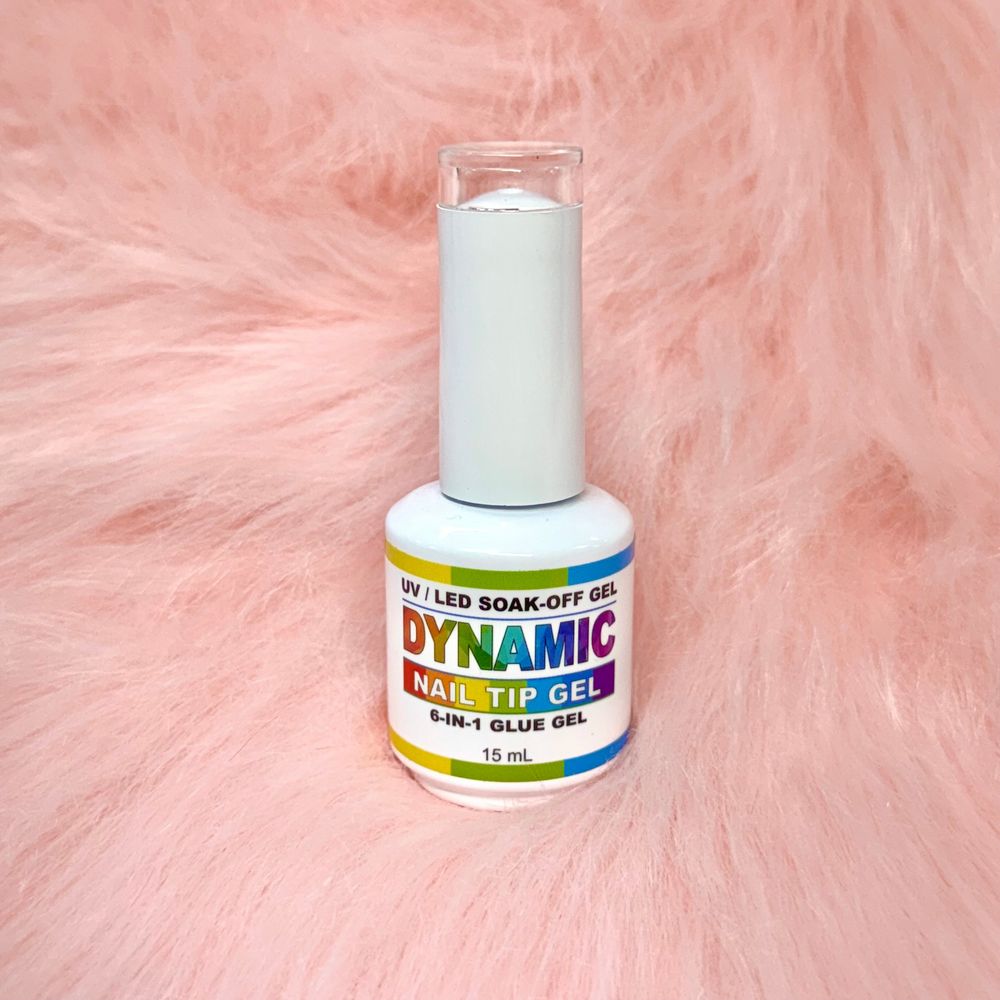
When planning finishes, aim for a consistent end texture. This gel cures to a slightly tacky layer that accepts color and topcoat well; use a glossy diamond-style topcoat for a high-shine finish, or choose a matte topcoat if you prefer a soft, velvety look. Since the product ships in a white glossy bottle and appears clear on the tip, it’s a neutral foundation that won’t alter the tone of the color layers you add.
Clear tip shows how the gel looks on extensions
Match techniques to the looks you want
Different styles need different applications of the same product. For a baby-pink full coverage look, use the gel as a foundation and build thin, even layers to create a smooth surface before applying color. For clear Gel-X extensions or natural-looking tips, use the gel to adhere and then smooth the seam with a light build. If your plan is a pastel ombré or a French with rainbow accents, cure the gel as a base and use thin brushes or striping tape to place color precisely over the cured tacky layer.
For rhinestones or tiny embellishments, dab a small dot of the gel where each stone will sit, cure briefly to tack, then secure the gem and finish with a topcoat. The clear finish of the cured gel keeps accents looking crisp; the pictured practice tip shows how the gel blends seamlessly into transparent extensions, making minimalist and accent-forward styles easy to execute.
Choose color pairings and accents that work with a clear base
Because this product cures clear and is shown with rainbow label accents on a soft pink background, it pairs beautifully with soft feminine palettes and playful pops of color. Try these combinations:
- Soft baby-pink base + glossy topcoat for an everyday feminine look.
- Pastel ombré from pink to white with a smooth blend over the cured gel.
- Clear tip extensions with single-color glitter or tiny rainbow accent lines pulled from the label stripes.
- Minimal clear nails with a single rhinestone on a small pink base for understated glam.
These pairings work well because the gel’s transparent finish won’t mute soft colors, and its tacky cured layer helps hold pigments and small decorations in place until you finish with a topcoat.
Quick workflow for busy people: fast sets that last
Keep your at-home process efficient and reliable by following a fast, repeatable sequence. This product cures under LED in about 60 seconds and under UV in up to 120 seconds, which makes LED a time-saving choice when you’re short on minutes. Here’s a practical workflow that balances speed and strength:
- Prep nails: clean, buff lightly, and push back cuticles.
- Apply a cured base coat thinly to protect the nail plate.
- Use 1–2 thin coats of the multifunctional glue gel where you need adhesion or structure; cure after each coat.
- Place tips or forms while the gel is still tacky if using as tip glue; cure to lock position.
- Add color or build layers, curing between thin layers for an even finish.
- Set rhinestones with small gel dots, cure, then seal everything with a durable topcoat.
Curing times and the gel’s slightly thick texture mean you can control placement without rushing. Keep a steady hand and small brush strokes for neat edges on ombrés and French tips.
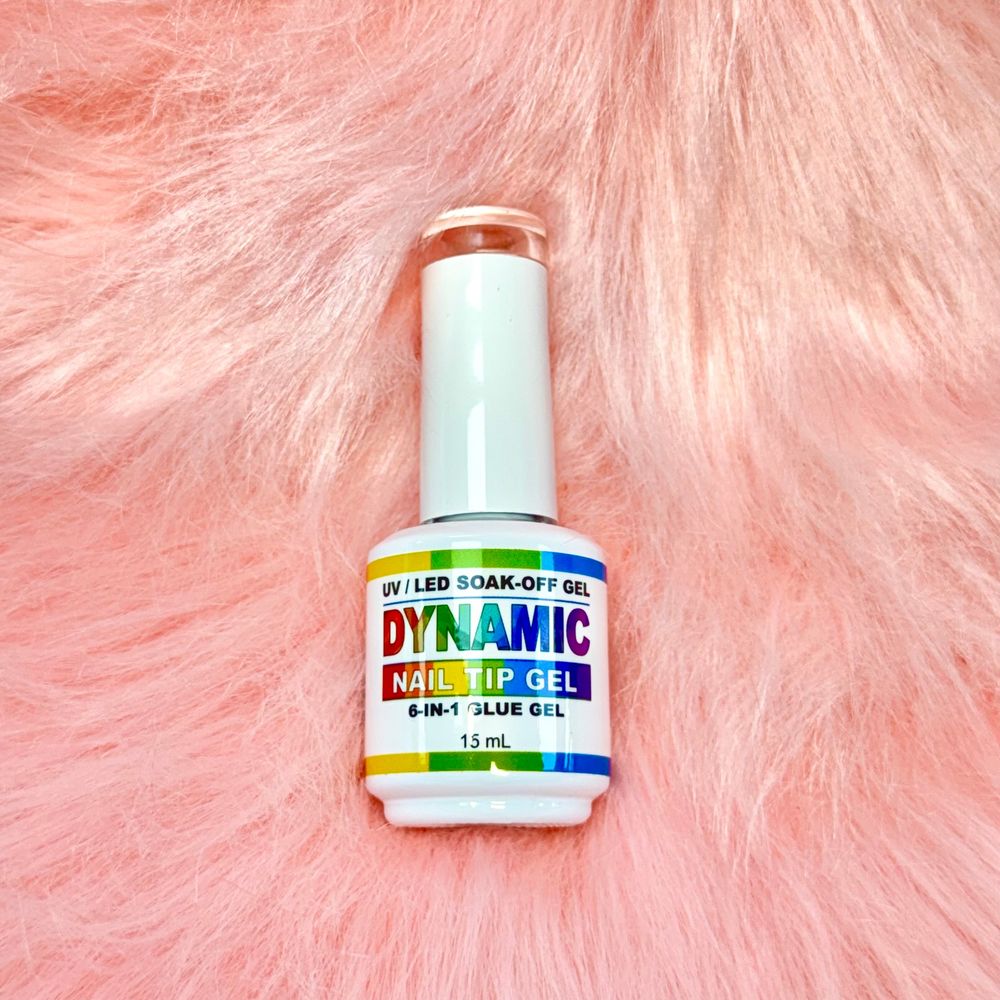
Bold rainbow text and label stripes add playfulness
Safety, storage, and a helpful checklist
Because this product cures with UV/LED light, always use a proper lamp and avoid direct skin exposure to uncured product. Perform a patch or skin sensitivity test before regular use and follow label instructions for soak-off removal. Store the bottle upright in a cool, dark place and reseal the cap tightly to keep the gel consistent.
Below is a numbered checklist to run through before you start your set—perfect for busy people who want predictable results.
- Confirm lamp type (LED for fastest cure).
- Prep nails: clean and lightly buff the surface.
- Apply cured base coat to protect nails.
- Use thin coats of glue gel; cure between layers.
- Set tips or rhinestones while gel is tacky; cure after placement.
- Finish with a durable topcoat and final cure.
- Store bottle upright and keep cap sealed.
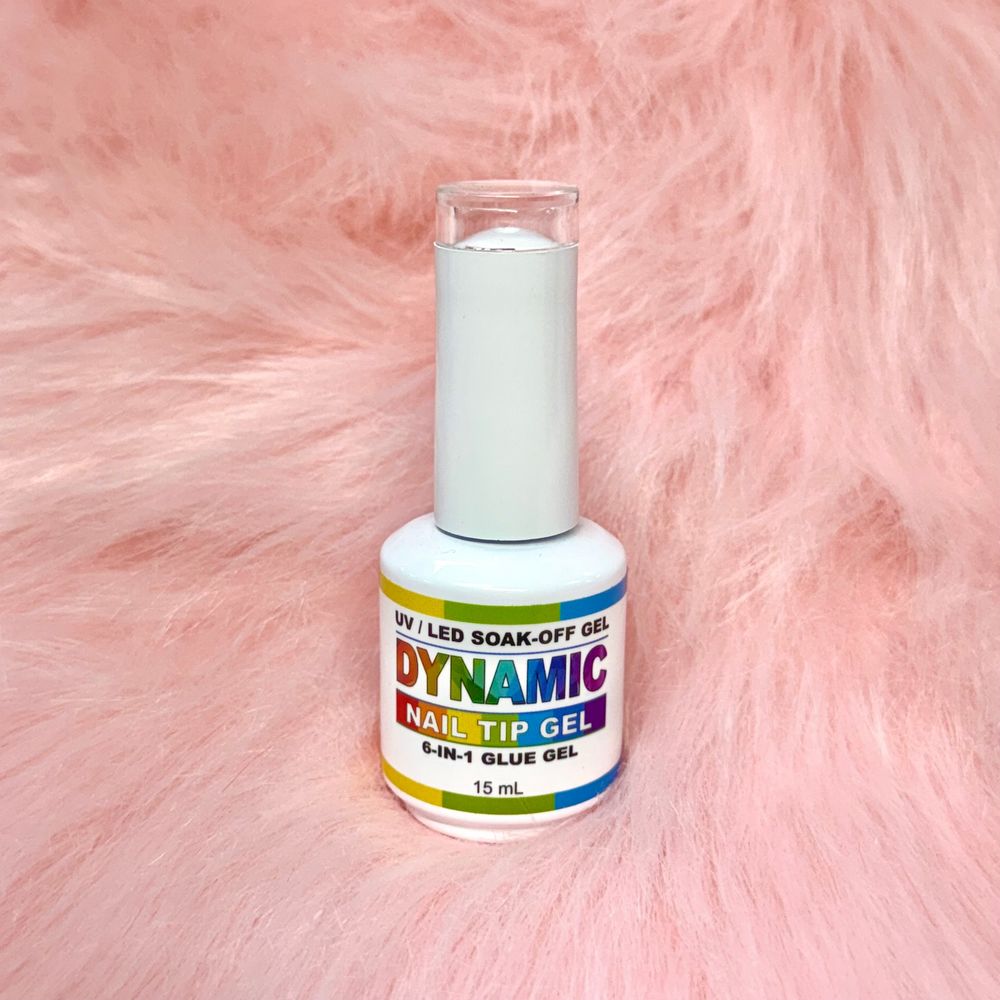
Glossy white bottle on a soft pastel background
Finishing touches and upkeep for longer wear
For longer-lasting manicures, finish with a high-quality topcoat and reapply cuticle oil regularly to maintain healthy nail edges. The gel is formulated to protect the natural nail when used with a base and finished properly, and many users find manicures last multiple weeks when applied correctly. Keep in mind price and availability vary; this item is listed at $7 at time of writing, but prices may change.
Who should buy this 6-in-1 option
If you’re short on time, like to switch between clear extensions and soft color looks, or want one reliable bottle that solves tip adhesion, micro-embellishment, and light structure building, this product is a good fit. It’s especially useful if you prefer a clear foundation to preserve color tones and enjoy finishing with high-shine or matte topcoats. For a compact, multiuse solution that streamlines your at-home routine, consider trying this Glue Gel 15 mL—more details are here https://dynamicnailsupply.com/products/multi-function-6-in-1-glue-gel