
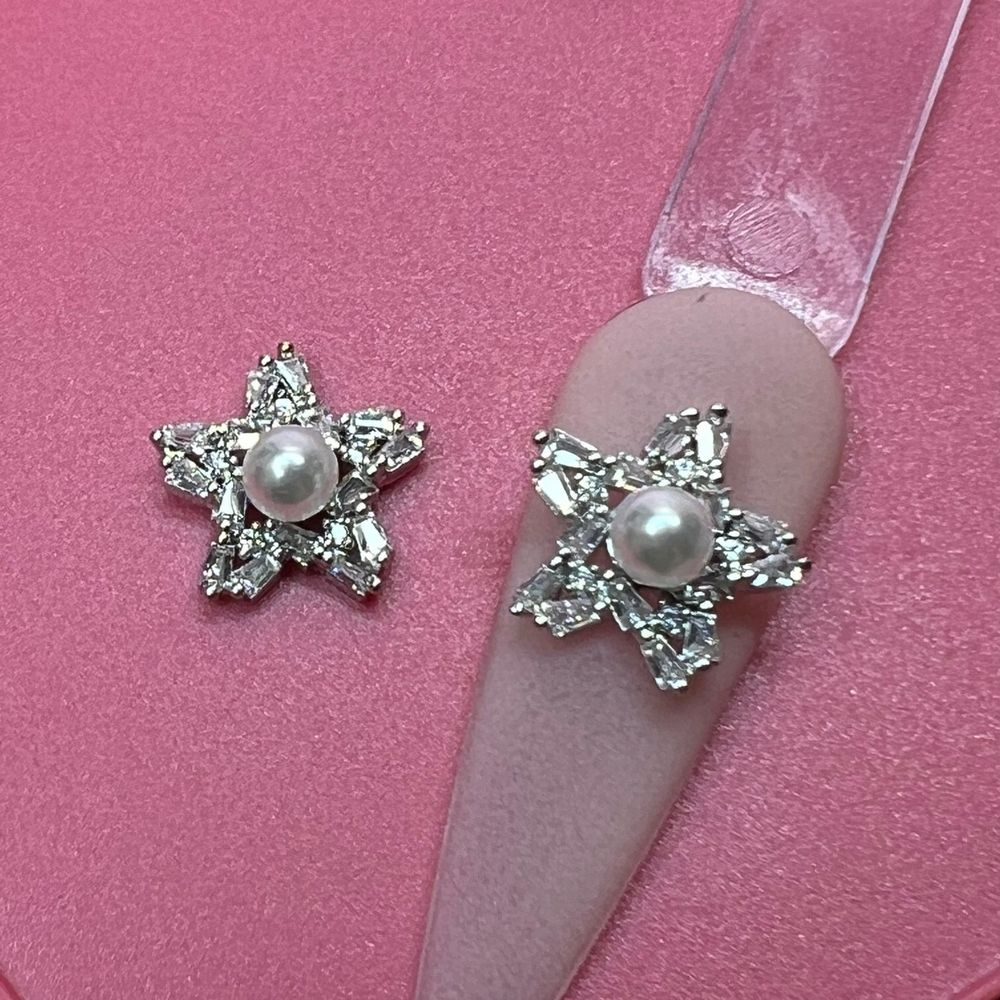
Small, luxe adornments transform a manicure from simple to salon-ready. White pearl star nail charms add a refined, sculptural accent to any polish or extension without overwhelming the design. This guide walks through using these two-piece luxury charms to achieve professional results whether you’re working behind a salon chair or at your kitchen table.
What you get and why it matters
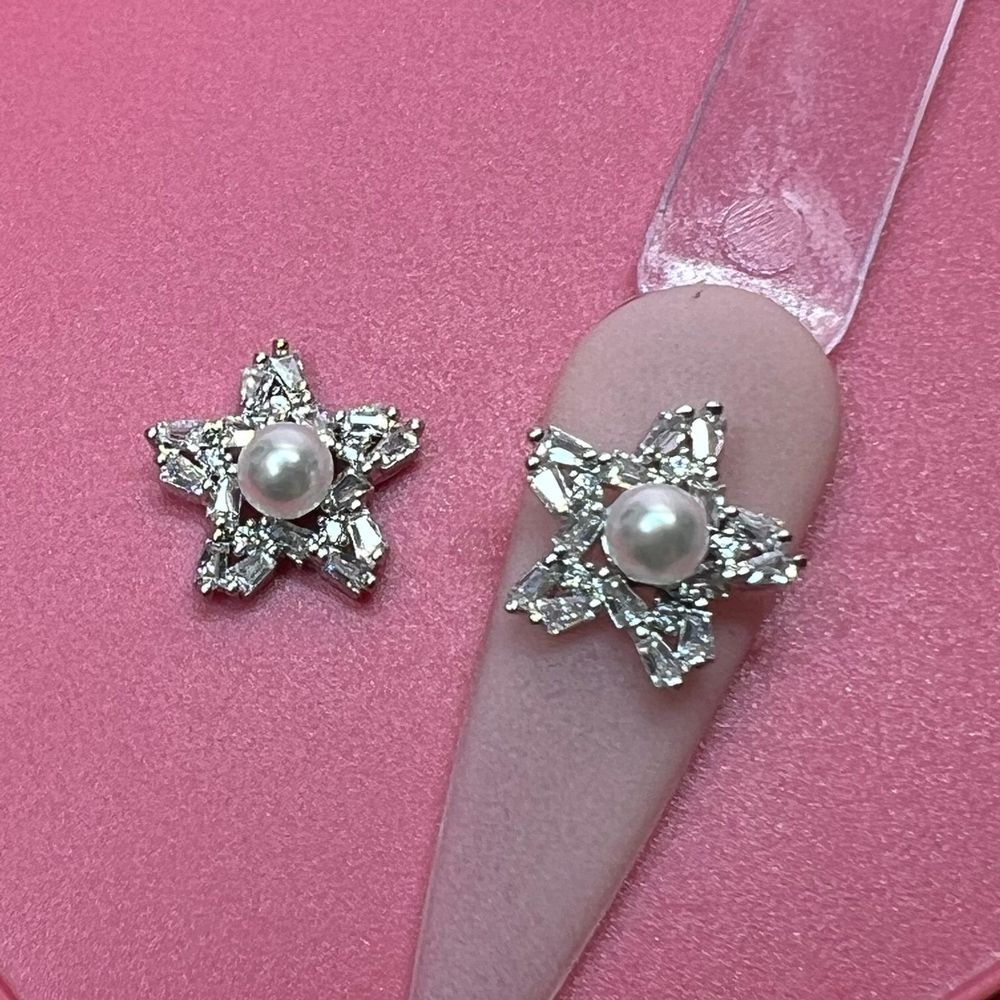
Each bag contains two luxury star-shaped charms engraved with a white-pearl finish. They’re compact, eye-catching, and designed to layer over color or clear surfaces. Priced affordably at $4.00, a single pack is enough to introduce a signature motif across manicures or try a handful of placement techniques before committing to a larger order.
To add these accents to your kit, consider a basic starter option like the white pearl star charms pack: white pearl star charms pack
Tools and prep for a pro finish
Preparation is the backbone of a durable, neat embellishment application. Gather these basics before you begin:
- Clean, dry nails — remove oils and old products.
- Nail glue or a compatible gel/resin for embedding small charms.
- Flat tweezers or a wax picker to handle tiny parts precisely.
- A thin topcoat or builder gel to seal and protect.
Work with good lighting and a steady surface to minimize slips during placement.
Step-by-step application for salon-quality placement
Below are dependable steps to apply the white pearl star charms for both natural nails and enhancements:
- Perform standard nail prep: shape, buff lightly, and dehydrate the nail plate if using gel.
- If using nail glue, place a small dot where the charm will sit. If embedding in gel, apply a thin layer or small puddle of uncured gel.
- Pick up the charm with tweezers or a wax tool and position it gently on the adhesive or gel.
- For glue: hold for a few seconds until tack-free. For gel: cure under the lamp according to your product’s instructions, then add a thin layer around the base to lock down edges and cure again.
- Finish with a thin, even topcoat over the surrounding nail — avoid flooding textured areas that should remain dimensional.
Use minimal adhesive to avoid visible residue and to keep the charm looking integrated rather than bulky.
Design ideas and placement tips
These star charms are versatile. Try these professional layout ideas:
- Single statement: Place one charm at the cuticle center of an accent nail for a minimalist, high-impact look.
- Clustered sparkle: Combine a star with micro-glitter or small pearls around the charm to create depth.
- Edge highlight: Set the charm near the free edge for an elongated or celestial tip effect.
- Negative space: Position the star so that part of the nail remains bare for modern contrast.
Experiment with orientation — flipped or tilted stars change the visual flow and suit both on-trend and classic styles.
Durability, care and salon maintenance
Because these charms are small decorative pieces, proper sealing and aftercare extend wear time. Recommend clients avoid harsh scrubbing and prolonged soaking immediately after application. When sealing, focus product around the charm’s base to reduce catching on fabrics or edges. If a charm loosens, remove remaining adhesive gently and reapply following the same prep steps.
In a salon setting, document the placement for repeat customers so you can recreate signature looks efficiently.
Who should use these charms?
These white pearl star nail charms suit several user types:
- Professional nail techs who want a simple, elegant accent option to offer clients.
- Experienced at-home mani-enthusiasts comfortable handling small pieces and adhesives.
- Designers creating bridal, editorial, or seasonal looks that benefit from a subtle, pearlescent star.
If you’re new to embellishments, start with one charm per hand to practice placement and sealing before expanding to bolder arrangements.
Safety notes and storage
These charms are small decorative items; keep them away from young children and pets. Store in a cool, dry place to preserve the engraved white-pearl finish and prevent bending or scratches. Handle gently with tweezers to avoid fingerprints and oils that reduce adhesive strength.
Conclusion: elevate your service with a simple accent
Two small white-pearl engraved stars offer many creative possibilities for professional-looking nails. With careful prep, precise placement, and proper sealing, these charms deliver a refined accent that works in both salon and at-home settings. For supply or restock, consider adding a few packs to your kit from Dynamic Nail Supply and experiment with placement ideas until you find a signature style.