
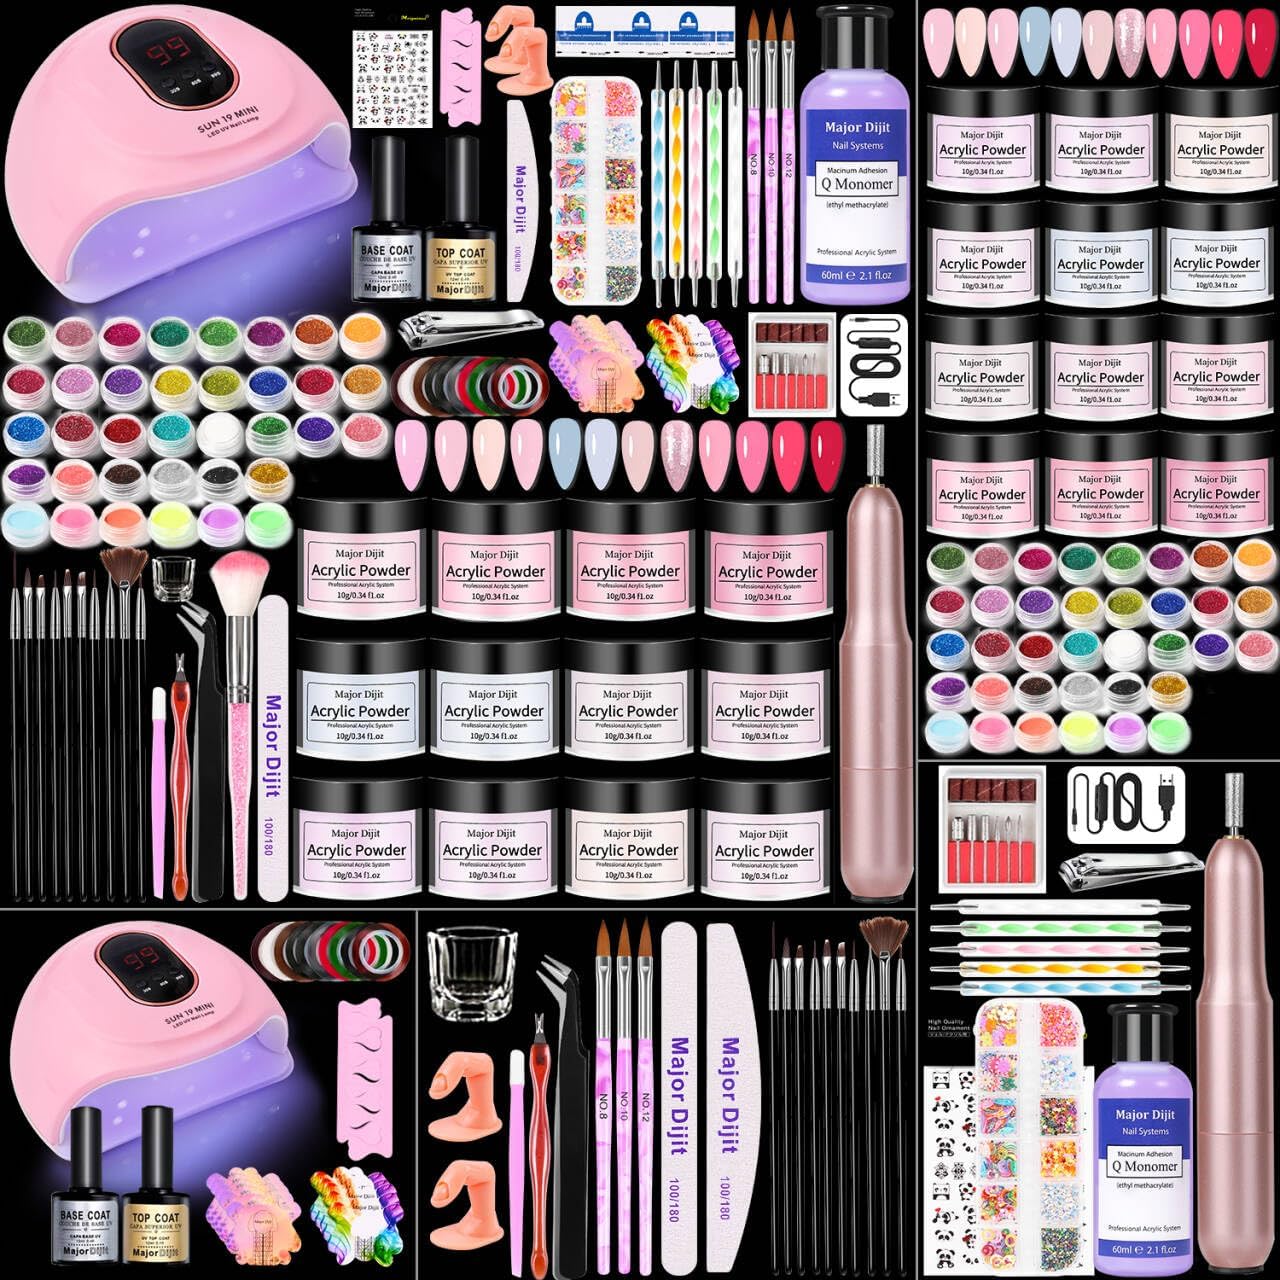
This acrylic nail kit with drill is built for beginners who want a full starter solution. It brings together colored powders, liquid acrylic, a compact electric drill with adjustable speed and multiple bits, plus finishing products and tools so you have everything in one box.
What’s included and why it matters
The kit supplies a broad set of components so you can practice a range of acrylic techniques at home. Key items inside are:
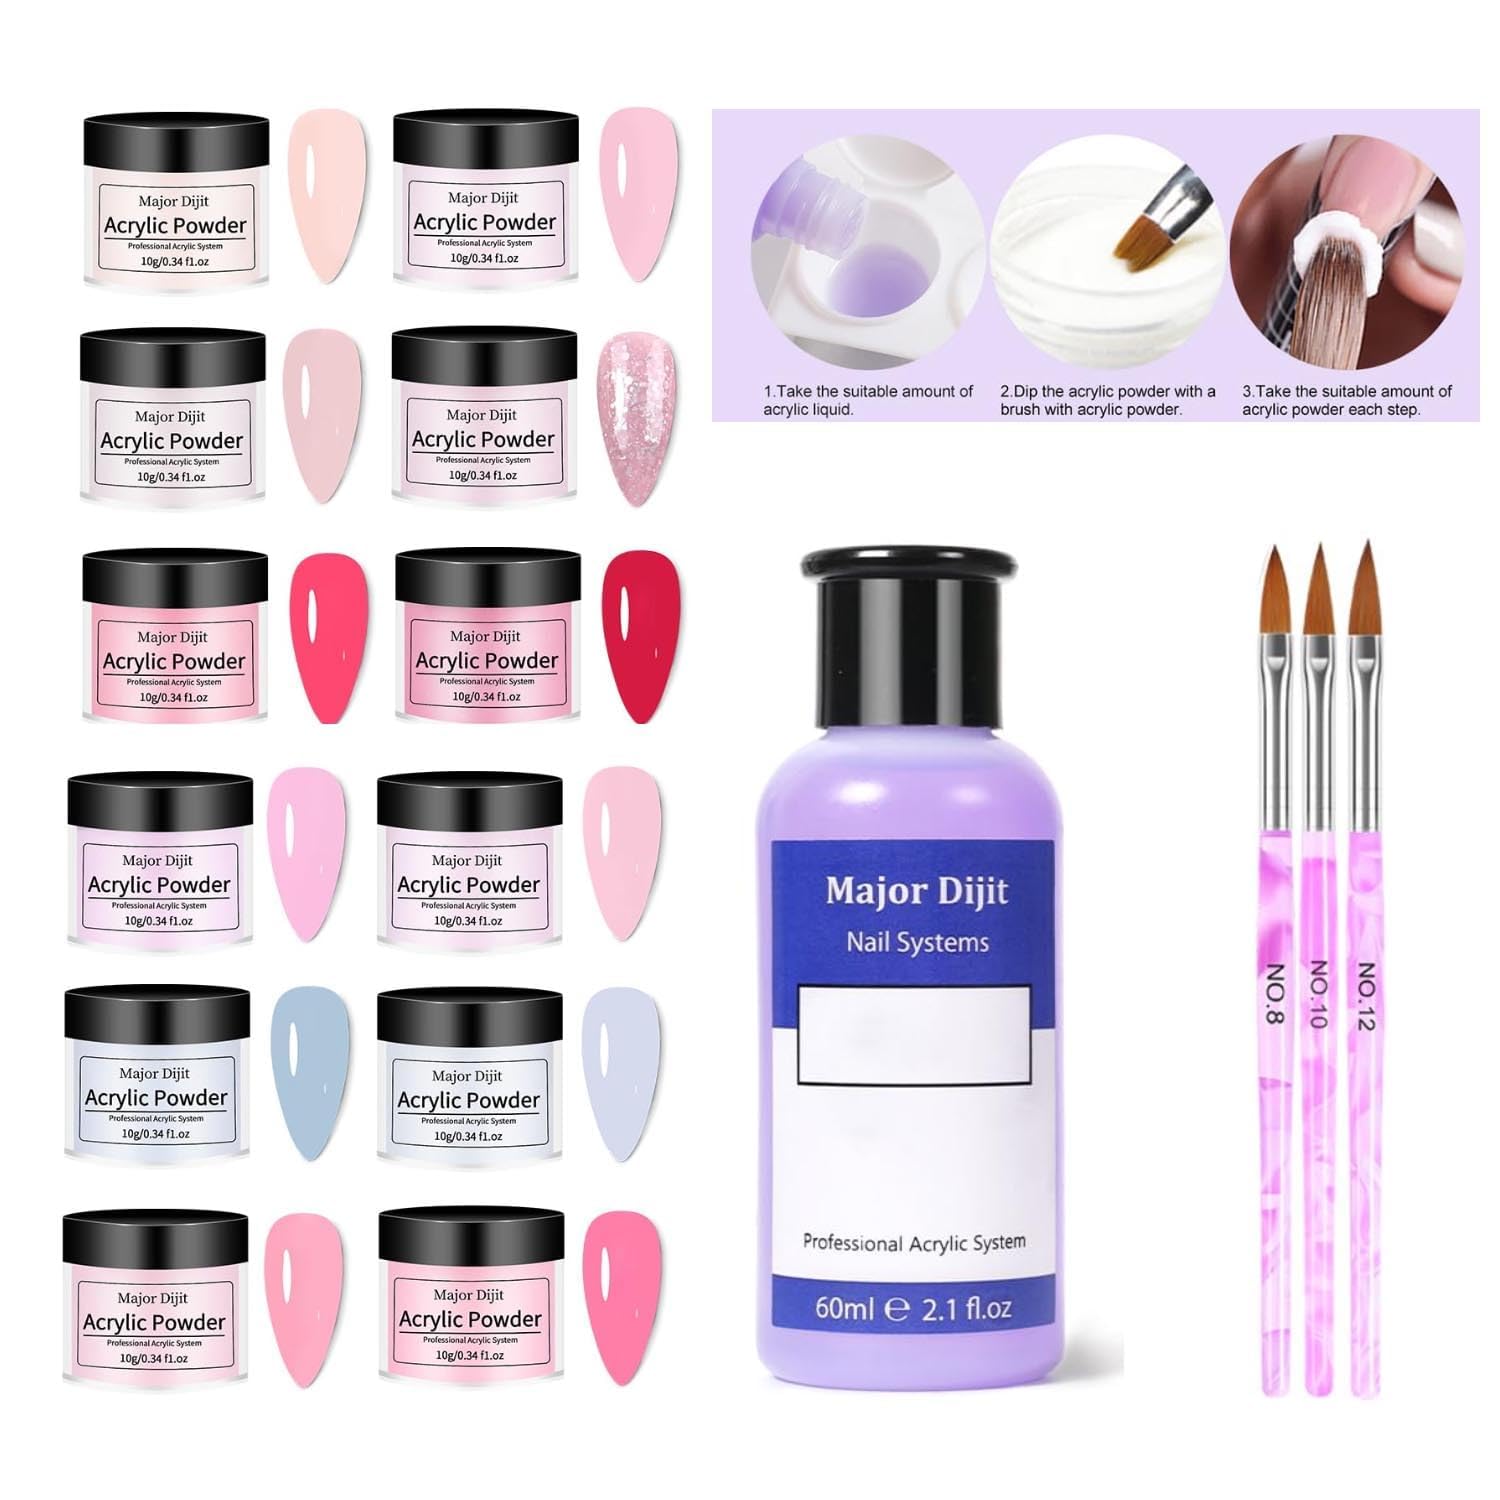
- 12 acrylic powders in different shades — fine, pure powder designed for natural-looking, firm acrylics.
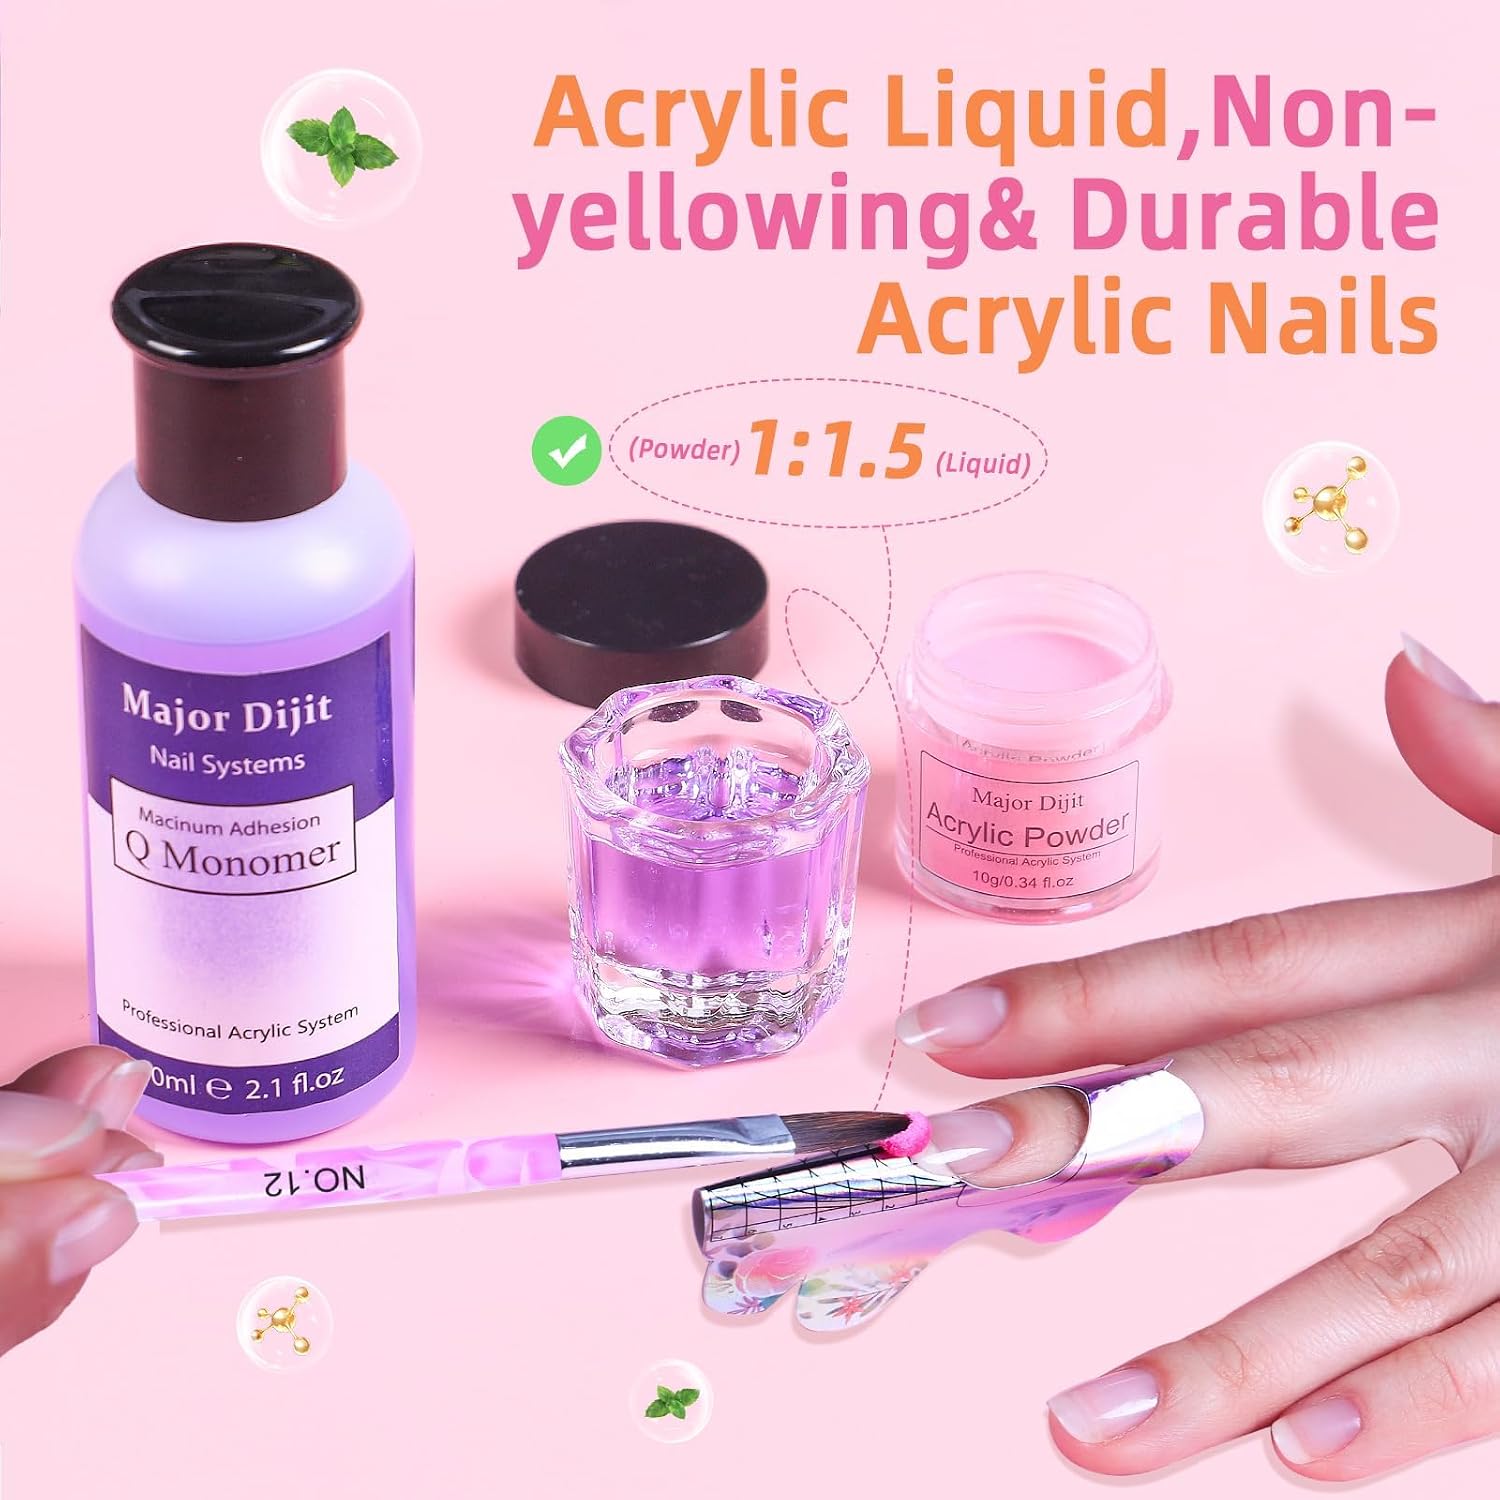
- 60 ml acrylic liquid — the monomer provided for mixing with powders.
- Electric nail drill with two-direction rotation and 0–20,000 rpm speed control, plus six bits and rings.
- Brushes for applying acrylic, nail forms and nail files for shaping.
- Base coat and top coat to finish looks, nail glitter powder, a nails light, and other accessories.
The listed price for this kit is USD 37.99; prices may change.
Key features in context
- 12 Color Acrylic Powder — The powders are described as fine and with strong adsorption properties. Use them with the acrylic liquid to lengthen, sculpt, attach decorations, or form 3D elements.
- Adjustable electric drill — Two-direction rotation allows comfortable use on either hand. Variable speed (0–20,000 rpm) helps when switching between shaping, buffing and detailing tasks.
- Six bits and rings — A selection intended for grinding, sculpting, cutting, polishing, exfoliating and removing dead skin, plus nail art work.
- Tools for finishing — Base and top coats, files and glitter provide finishing options after sculpting and shaping.
Practical step-by-step guidance for first-time use
Follow these general steps when working with the components in this kit. Do not substitute product-specific instructions or professional training when needed.
- Prepare the natural nail — Gently file and clean nails, and remove oils from the nail plate so acrylic adheres better.
- Set up forms or tips — Apply the nail form or tip that matches your desired length and shape.
- Mix powder and liquid — Dip your acrylic brush into the monomer (the 60 ml liquid) and pick up powder to form a bead. Work the bead onto the nail to sculpt length or overlays.
- Sculpt and shape — Smooth the product into the chosen profile. Once dry enough to handle, use files or the electric drill with an appropriate bit for shaping and smoothing.
- Finish — Apply base coat or top coat included in the kit, add glitter if desired, and complete the look with light or drying steps as you usually would with the products you use.
If you want an upgrade, consider a specialist bit such as the 5-in-1 fine cross cut bit: 5-in-1 fine cross cut bit
Electric drill use tips
- Start at low speed when removing or shaping product; increase rpm gradually for polishing tasks.
- Two-direction rotation makes it easier to work comfortably with both hands.
- Use the included bits according to their intended tasks: coarser bits for removal, finer bits for finishing and cuticle sealing.
Who this kit suits
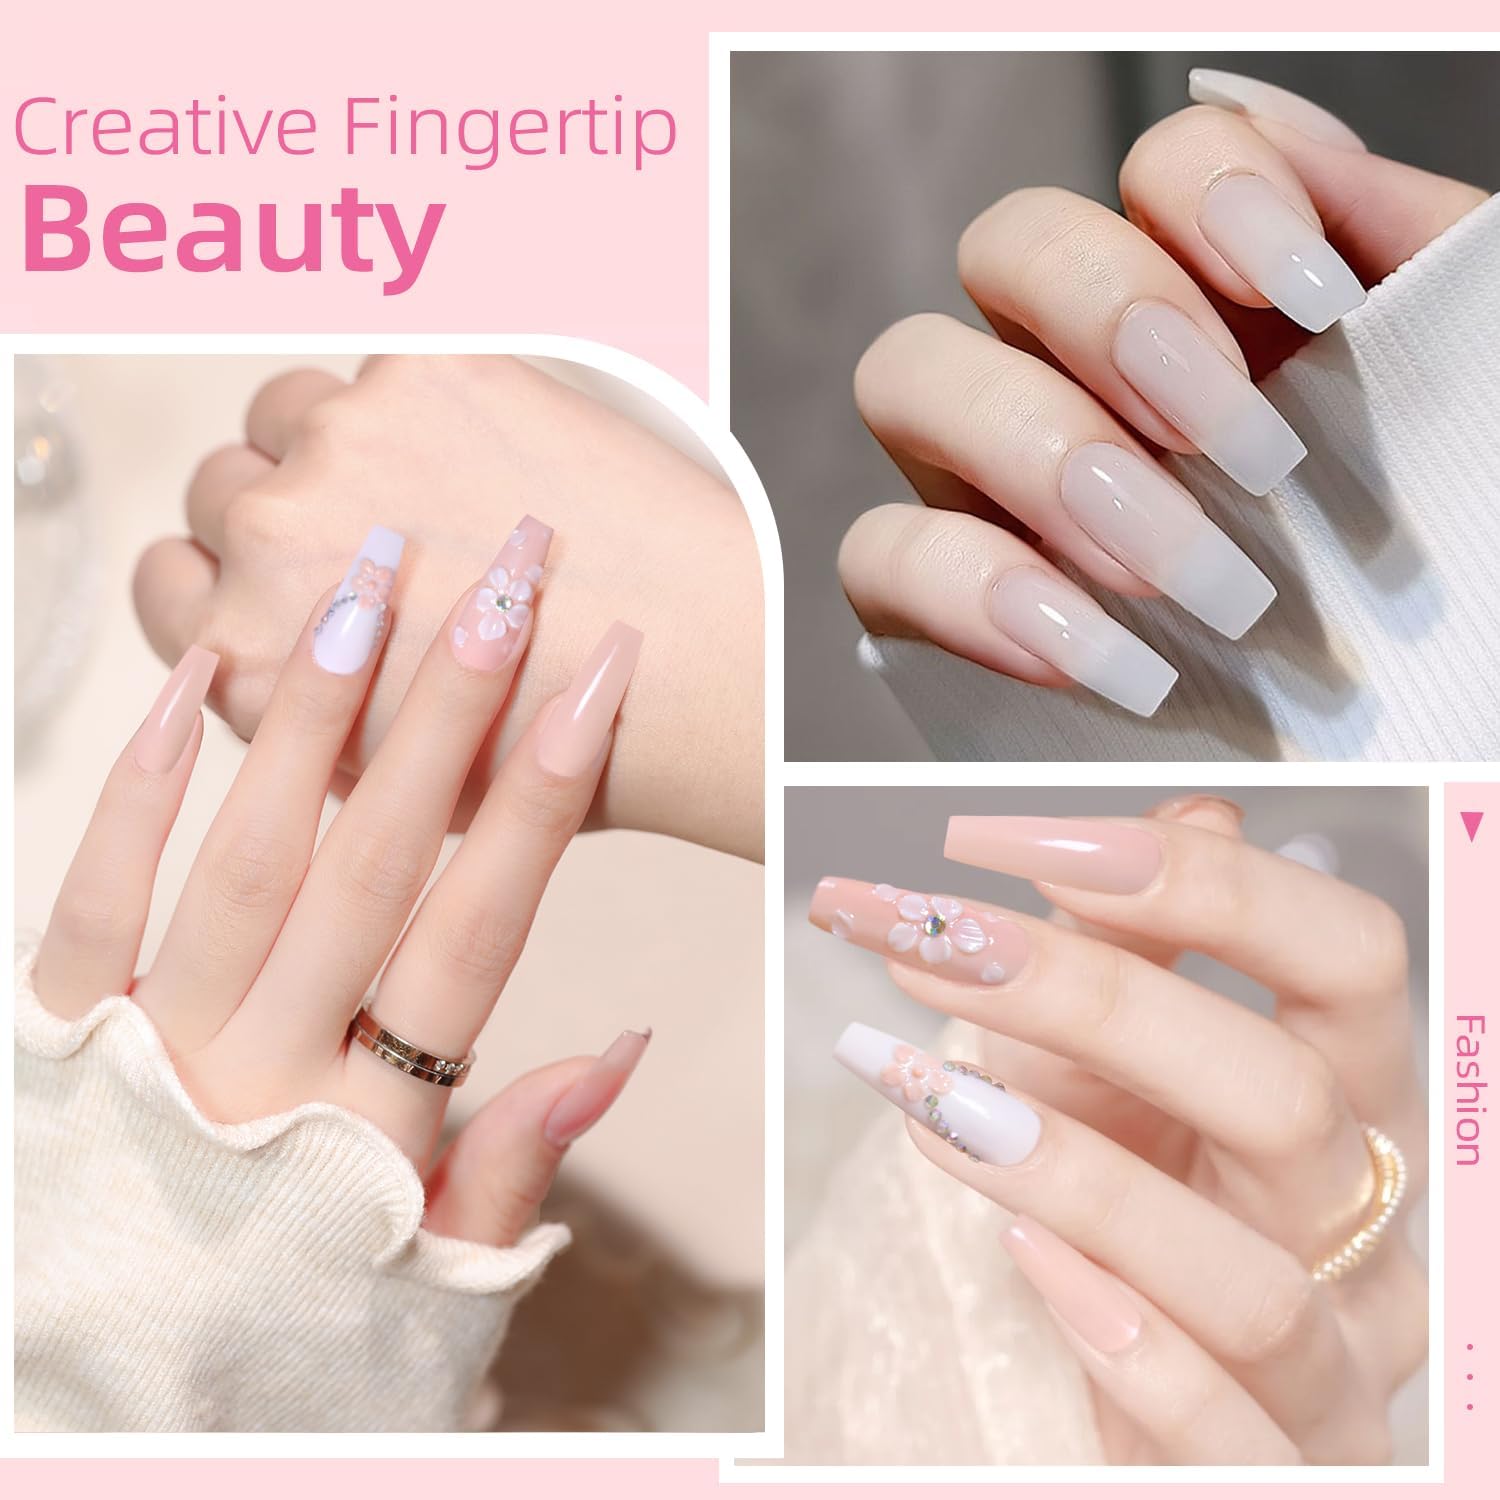
This assembly is aimed at beginners and DIY nail enthusiasts who want a single box that covers mixing, sculpting and finishing. The variety of powders and tools supports experimenting with color mixes and simple 3D decoration techniques. Because the set includes a drill with multiple bits, it can also help those learning to shape and refine acrylic work at home.
Limitations and safety notes
- Odor from acrylic liquid — The monomer in the kit has a noticeable smell. This is described as unavoidable and will dissipate as it evaporates. Keep caps tightened when not in use to limit fumes.
- Practice required — Acrylic sculpting and e-file techniques take time to learn. Start slowly, practice bead placement and shaping on practice tips before working on natural nails.
- Use drill bits appropriately — The included bits cover many tasks. Applying too much pressure or using the wrong bit at high speed can damage the nail or surrounding skin, so proceed with care.
Maintenance and storage
Store the acrylic liquid with the cap secured and keep powders in a dry place. Clean drill bits after each session and replace sanding bands or worn bits as needed. Proper storage extends the life of the components and helps control odor.
Final thoughts
This acrylic nail kit with drill packages core tools and multiple colored powders into a single set designed for newcomers and hobbyists. It provides mixing materials, shaping tools, and finishing items so you can experiment with lengthening, sculpting and decorative effects without sourcing each item separately. Be mindful of the acrylic liquid’s smell and take time to learn safe drills and bit usage. With practice, the variety included supports a range of creative nail looks.