
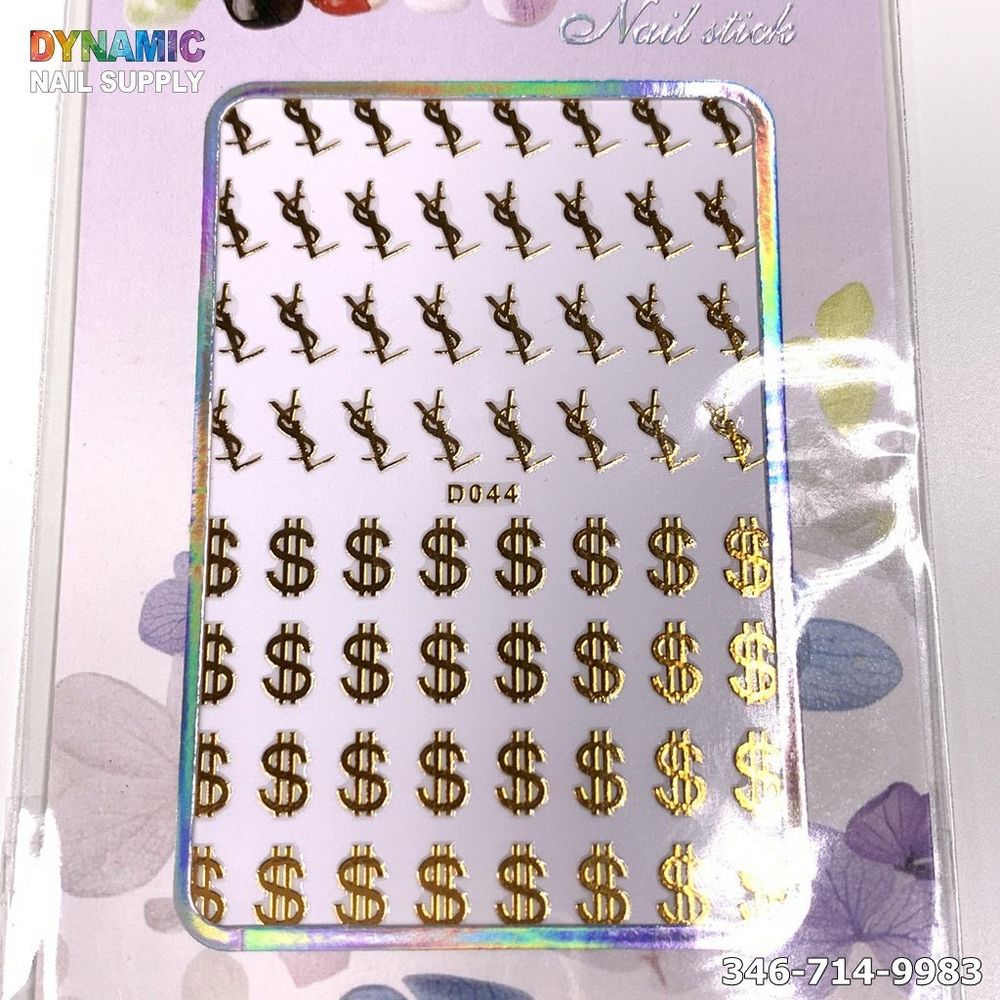
Busy salons need reliable, repeatable ways to add eye-catching detail without blowing appointment times. Nail art design stickers are an easy, low-overhead option for techs who want to deliver consistent decorative results during manicures and enhancements.
Keep a few sets of nail design stickers at your design station for fast add-ons. NAIL ART DESIGN STICKER – D044 is an economical choice that fits into multiple service stages and can be used to upsell add-ons or retail to clients for at-home touch-ups.
Where stickers fit into a professional service menu
Stickers are most effective as an add-on to a standard manicure, gel polish service, or as an accent on enhancement sets. They reduce time spent hand-painting fine motifs and allow even junior techs to produce consistent branded looks. Use them to:
- Offer quick “accent nail” upgrades during a regular polish change.
- Speed up seasonal or themed collections where many clients want the same look.
- Provide retail-ready items clients can purchase to refresh their manicure between visits.
Prep and basecoat: the foundation for long-lasting placement
Proper nail prep still matters. Make sure natural nails or enhancements are cleaned, shaped, and de-ashed before applying any design element. A well-cured base layer—whether traditional polish, gel, or builder product—gives stickers a smooth surface to adhere to and helps prevent lifting. For best salon results, ensure the base is fully dry or fully cured per the product in use before placing the sticker.
Placement technique and finishing steps
Use tweezers or a silicone-tipped tool to pick up and position the sticker precisely where you want it. Press gently from the center out to remove any trapped air. After placement, seal the edges with a compatible topcoat and cure if using gel systems. This locks the sticker under a glossy or matte finish and helps it integrate visually with the rest of the service.
Practical placement tips
- Plan the design before client placement: decide which nail(s) will carry the sticker to balance the overall look.
- Trim or reshape sticker if needed for a custom fit—small scissors work well for fine adjustments.
- For layered looks, apply a thin layer of topcoat between sticker layers to prevent lifting.
Speed tips for high-volume bookings
When appointments run back-to-back, consistency and speed matter. Pre-positioning a small kit with common sticker sheets, tweezers, topcoat, and a curing lamp (if needed) saves seconds per client that add up over the day. Train assistants to handle prep and basecoat steps so technicians can focus on placement and finishing. Because stickers are quick to apply, they’re ideal for express services and walk-ins that need a decorative boost without extended time.
Upsell, retail, and pricing strategy
Stickers like D044 are low-cost inventory that can drive add-on revenue and retail sales. At a suggested retail or add-on price that reflects your salon’s market, a single sticker application increases ticket averages with minimal labor. The product price point ($3.00) makes it feasible to offer themed or seasonal sets without heavy investment. Consider packaging a few complimentary designs into a small retail display near the front desk to encourage takeaway purchases.
Who benefits from these stickers in a professional setting
These stickers are useful across the salon team: junior techs gain confidence creating consistent designs, senior techs speed through repeating motifs, and salon owners boost per-client revenue with easy add-ons. They also work well for stylists focused on event clients—bridal trials, parties, or photoshoots—where a reliable decorative element is needed quickly.
Care, safety, and client communication
Always advise clients on aftercare: avoid harsh chemicals and prolonged soaking immediately after application, and recommend returning for a touch-up if lifting occurs. As with any nail product, avoid applying stickers to broken or irritated skin; if a client has adhesive sensitivities, perform a small patch test when possible. Keep an organized inventory and labeled storage to prevent contamination and to rotate designs so offerings remain fresh.
Final workflow notes and setup checklist
To integrate nail art design stickers smoothly into your salon operations, create a simple checklist for each station: prep tools, a cured base, sticker selection, placement tools, and a finishing topcoat. Consider a short tech training session to standardize placement technique and timing expectations across staff. If you need to reorder or compare styles, this product is available from Dynamic Nail Supply and can be included in regular inventory orders.
In short, nail art design stickers are an efficient, low-cost way to elevate services, increase add-ons, and maintain consistent salon-quality looks during busy shifts. With a small setup and clear workflow, stickers become a versatile tool in any professional nail service routine.